Index
Advanced Custom Fields (ACF) is a plugin that offers WordPress users the opportunity to create and manage custom content for their websites. Thanks to this comprehensive plugin, users can easily manage complex content structures and expand the functionality of their websites. The InnerBlocks feature provided by ACF takes the flexibility of the Gutenberg editor a step further, enabling users to create rich and dynamic content blocks on their websites.
In this article, we will thoroughly explore the basics of ACF’s InnerBlocks feature, how this powerful feature can be configured on your website, and how it can be integrated into your page layouts. In our step-by-step guide, you can find details on how you can enrich the user experience by effectively using this feature.
What is InnerBlocks?
InnerBlocks is a feature in the WordPress block editor that allows the placement of other blocks within custom blocks. This feature enables developers and content creators to build a layered and nested content structure, significantly enriching the user experience. InnerBlocks allows the placement of smaller “child” blocks within a “container” block, giving website owners the ability to construct their pages in a fully customized and modular fashion.
Gutenberg is a block-based editor that allows users to think of their content in pieces and manage each piece as a block. Using the InnerBlocks feature, users can create anything from a simple text block to a complex product list or a service presentation section.
Each block can be independently added, edited, and repositioned, making it possible to customize the structure and content of web pages in an almost limitless manner. For example, it enables users to tell a story in a blog post enriched with quotes, images, and related content. E-commerce sites can combine product features, image galleries, and purchase buttons in a single product block.
For developers, InnerBlocks not only offers flexibility to users when creating custom blocks but also simplifies code reuse and maintenance. For instance, a theme or plugin developer can offer frequently used content elements as standardized blocks, enhancing customization options while maintaining overall site consistency.
In summary, InnerBlocks is highly valuable for developers of WordPress themes and plugins. It enables complex content structures and nested block arrangements. Utilizing the InnerBlocks feature in custom block development allows these blocks to be customized more comfortably and flexibly by users. Thus, users can arrange and personalize blocks according to their needs.
Activating InnerBlocks within ACF
The first step is to ensure that your WordPress installation is up to date. The next step is to acquire and install the ACF Pro plugin on your WordPress site, as InnerBlocks is a feature that works with ACF Pro. To install and activate ACF Pro, you can follow the steps in the ACF Pro Upgrade Guide available on the ACF website. After activating the plugin, you can start using the ACF PRO plugin by entering your license key.
Creating Block with InnerBlocks
Let’s examine step-by-step how to create an “Our Services” block for WordPress using ACF and InnerBlocks. In each step, I will illuminate every aspect of this process by providing code examples to support the actions you will perform and detailing the importance and function of each part of this code. This way, you will discover how to create similar blocks for your own website, and explore ways to customize and enhance these blocks.
Creating a JSON File for Block Registration
First, we need a block.json file. This file defines the basic settings, functions, and features of your new block, enabling WordPress to recognize and correctly process it. For this purpose, creating a blocks folder in the plugin or theme you are developing, which will contain all the blocks, will facilitate the process.
Within the blocks folder you create, make a special subfolder for your “Our Services” block. We can name this subfolder our-services, which will be compatible with and descriptive of your block. This subfolder will hold all the files related to your block – such as source codes, style files, and JavaScript files – together, ensuring that all elements of your block work in harmony with each other.
Place the required block.json file for your block in the our-services folder you have created. The block.json file stores the configuration of your block in JSON format and provides WordPress with essential information about this block, such as its name, description, category and icon, the script and style files to be used, and other important details.
Then, add the our-services.php file, a PHP template file that defines how your block will look on the front end. This file outlines the HTML structure of your block, the PHP codes to be processed by WordPress, and how users can arrange their content through InnerBlocks.
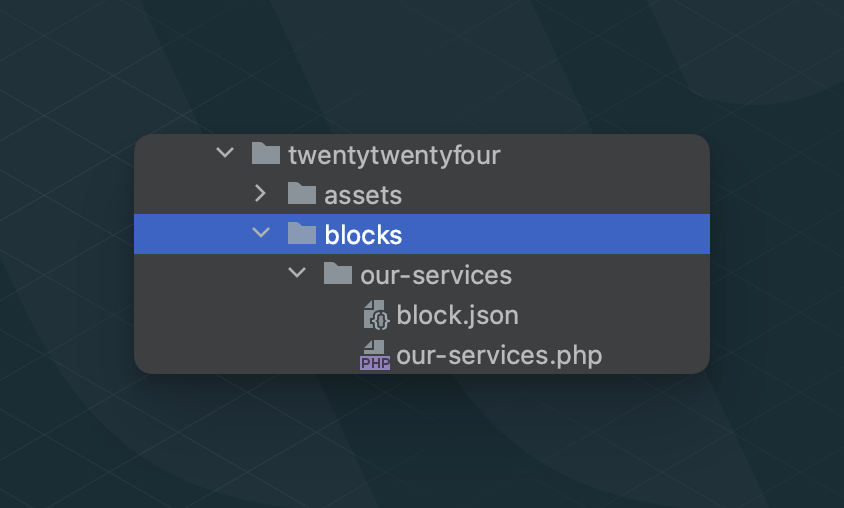
Continuing with the structure as shown in the visual. In our previous article on How to Create a Gutenberg Block with Advanced Custom Fields, we talked in detail about how this structure will be set up, you can check it out if you wish
First, we create our block.json file.
{
  "name": "acf/our-services",
  "title": "Our Services",
  "description": "Inner block template",
  "category": "formatting",
  "icon": "smiley",
  "keywords": ["services", "inner block"],
  "acf": {
    "mode": "preview",
    "renderTemplate": "our-services.php"
  },
  "supports": {
    "anchor": true,
    "jsx": true
  }
}
In the json file we create,
- name: This is your block’s unique name. It is usually used in the theme-prefix/block-name format.
- title: This is the visible name of your block and can be seen by users within the block selector.
- category: Determines under which category your block will be placed.
- icon: Specifies the icon for your block. You can use one of WordPress’s icons or a custom icon.
- keywords: These are keywords that help users easily find your block during a search. If you type these words into the search section within the block selector, you can quickly access your block.
- supports: Specifies the extra features your block supports. jsx support enables the use of React-based features like InnerBlocks.
- renderTemplate: The path to the PHP template file that determines how your block will be rendered on the frontend and in the editor.
At this stage, you can further customize the style and behaviors of your block by including additional CSS and JavaScript files in your block.json file as needed.
You can also create a suitable json file for the block you will create.
Registering the Block
After creating the block.json file, you need to register the block with WordPress to make it recognizable and usable. While the block.json file defines the block configuration, an additional step is required to register this block with WordPress.
This registration process is done through WordPress’s register_block_type() function. This function can be called either via the path to the block.json file or directly in PHP, and it informs WordPress’s block registration mechanism about the existence of your block and how it should be processed. This process is typically carried out in your theme’s functions.php file or within a plugin. During registration, the path to your block.json file is provided as a parameter to the function, and WordPress reads this file to load your block’s settings into the system.
function register_acf_blocks()
{
    register_block_type(get_template_directory() . '/blocks/our-services');
}

add_action('init', 'register_acf_blocks');
Integration of InnerBlocks
Now let’s create the HTML structure of our block within our-services.php. This PHP file contains the HTML structure that defines the appearance and content of your block on the front end. Everything that users will see on your web page is shaped by the codes determined in this file.
Using the InnerBlocks structure, we specify how nested blocks and their features will be arranged in this file. For the “Our Services” block, I chose to create a two-column layout to display the contents side by side. I achieved this configuration using WordPress’s core/columns and core/column blocks.
<?php
$inner_blocks_template = [
    [
        'core/columns', [], [
        ['core/column', [], [
            ['core/image']
        ]],
        ['core/column', [], [
            ['core/heading', ['placeholder' => 'Add your title here...']],
            ['core/paragraph', ['placeholder' => 'Add your description here...']],
            ['core/button', ['placeholder' => 'Add link text...']]
        ]]
    ]
    ]
];

echo '<div class="our-services-block">';
echo '<InnerBlocks template="' . esc_attr(wp_json_encode($inner_blocks_template)) . '" />';
echo '</div>';

?>
In the our-services.php file I created;
- Using the $inner_blocks_template array, you can create a two-column structure using core/columns and core/column blocks. In this example, we constructed our layout using a title (core/heading), a paragraph (core/paragraph), an image (core/image), and a button (core/button).
- ‘esc_attr(wp_json_encode ($inner_blocks_template))’: This code safely converts the $inner_blocks_template array in PHP into JSON format and passes it to InnerBlocks.
If you want more control and flexibility over the layout of your block, you can consider using the templateLock feature in your our-services.php file. This feature is used to lock the arrangement of sub-blocks within your block or to allow users the freedom to modify them. For instance, with the setting templateLock=”false”, users can rearrange the structure and content of the columns in your block according to their needs and preferences by dragging and dropping. This is ideal for situations where you want users to be creative and personalize the page content.
Alternatively, if you want to maintain the structure of the block you created and only allow certain contents to be added or changed, you can completely lock the structure of your block by using templateLock=”all”. This ensures that your block maintains a consistent look and functionality, allowing users to add content only to predetermined areas.
For demonstration purposes, I am including the usage of templateLock=”false” below.
echo '<div class="our-services-block">';
    echo '<InnerBlocks templateLock="false" />';
echo '</div>';
Adding the Block to the Page
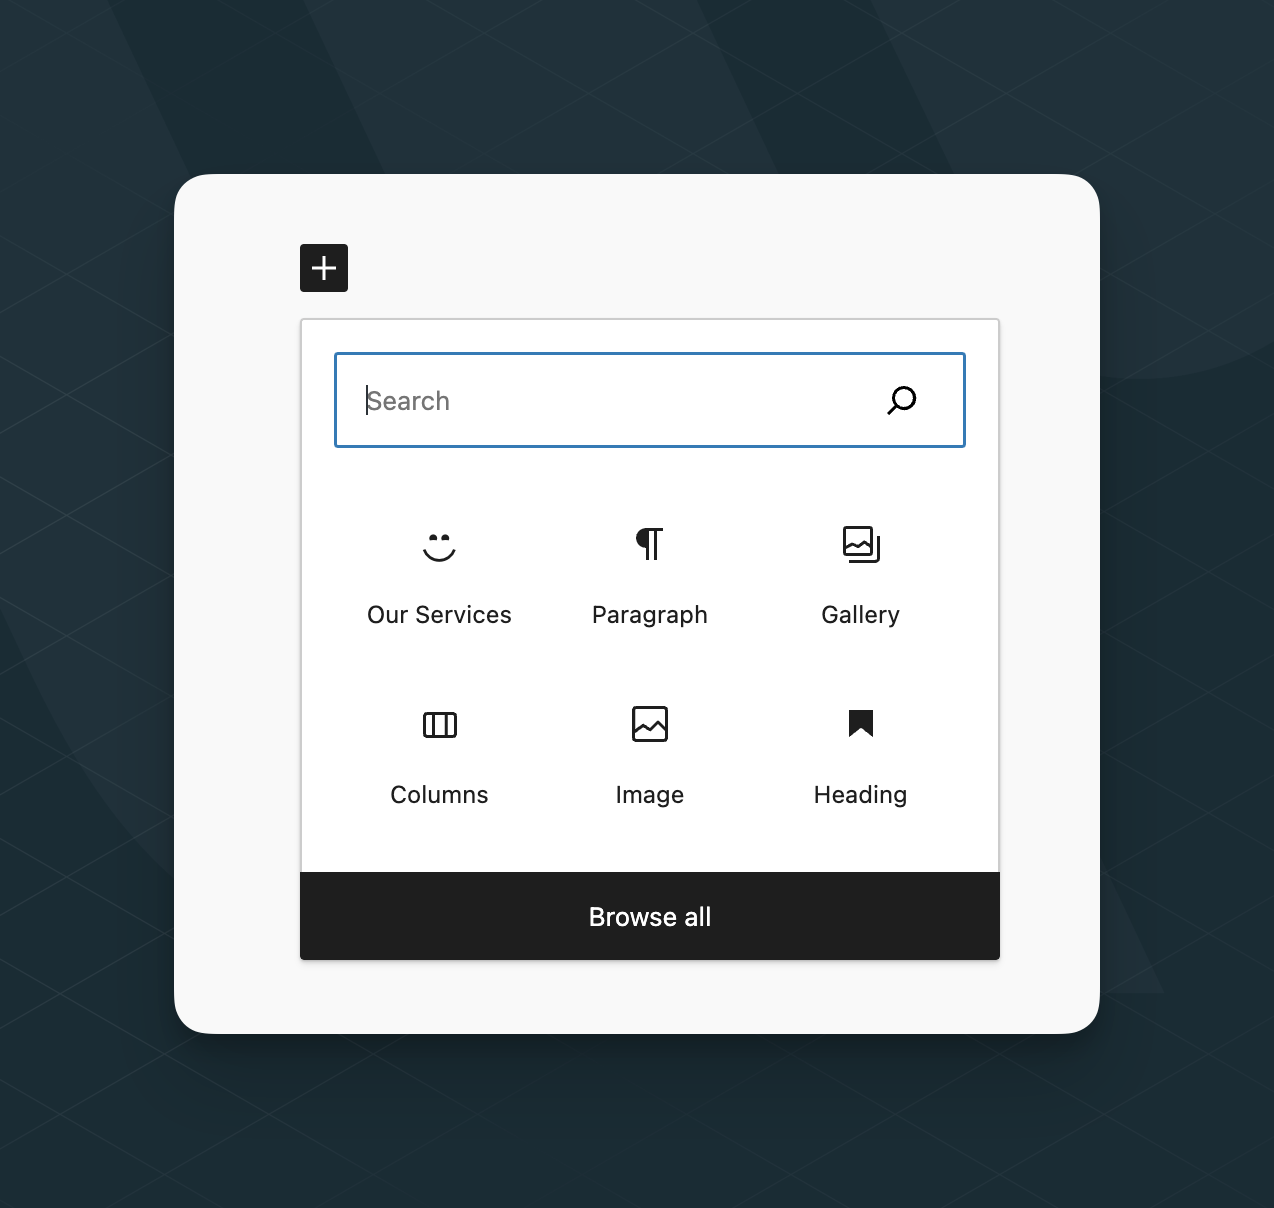
Our block is now ready to be added to our web page. You can create a new page or edit an existing one by going to the “Pages” tab in the WordPress admin panel. Just like adding Gutenberg blocks, you can also add the “Our Services” block created with ACF. You can do this by clicking the “+” button located at the top left corner of the page. In the block menu that opens, you can search for and find your “Our Services” block and add it to your page. Alternatively, you can add your block by clicking the + button inside the text area.
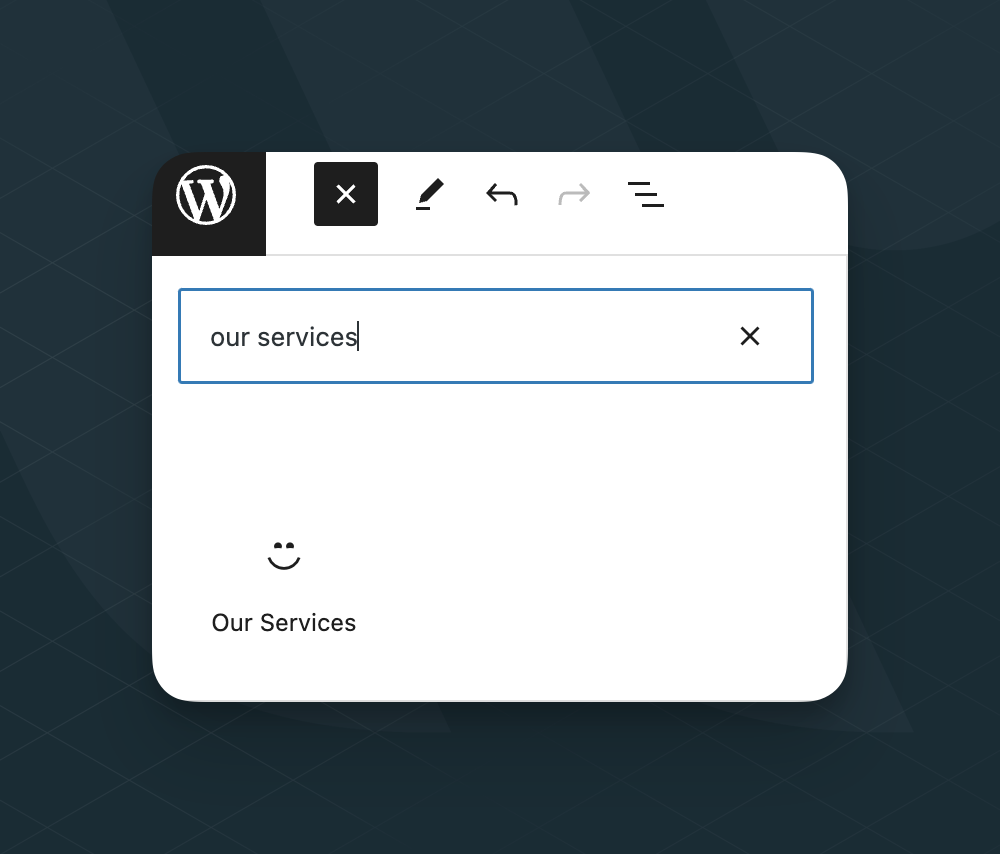
After adding your block to the page, you can move on to the content editing phase. The “Our Services” block has the InnerBlocks feature, allowing users to easily arrange content according to their needs. This enables each sub-block (like title, description, image, and link) to be placed and customized wherever you want on the page. When you add content, you can set up each sub-block using the block settings panel on the right side of the WordPress editor. This panel allows you to personalize the style and content of your block.
Styling the Block
The “Our Services” block I created currently appears in a raw form on the page.

There are various methods to style your block. You can change the appearance of your block either by using the CSS file of your theme or by using WordPress’s own style features. In the ‘Advanced’ tab on the right panel of the WordPress editor, you can add custom CSS classes to your block and define appropriate CSS rules for these classes.

One way to add different styles to your block is by defining custom styles for each sub-block while creating the block. For example, you can assign a specific font size, color, or font family for the title within your “Our Services” block.
After these customizations, publish the page. And here’s how the Our Services Block we created together looks.
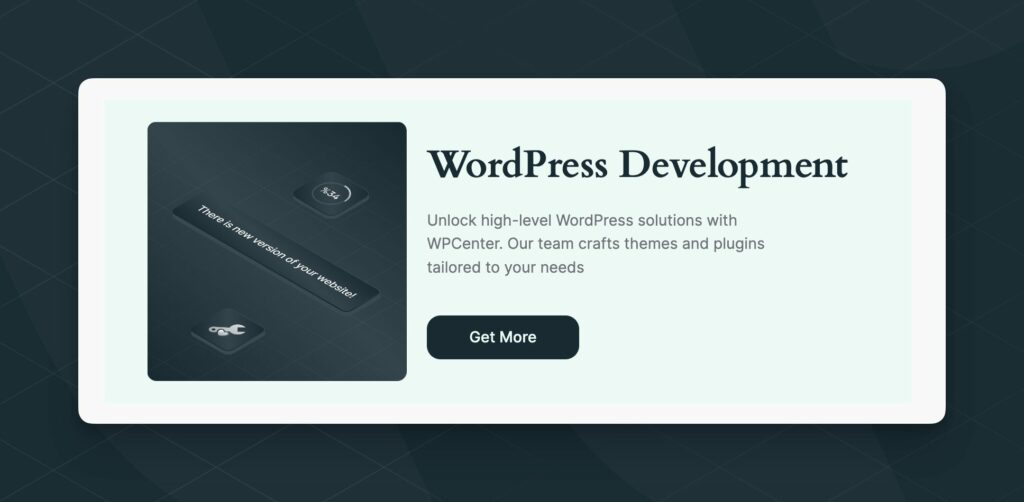
Thanks to the customization options provided by WordPress, you can present your content in a unique and impressive way. Whether you are a beginner user or an experienced developer, creating customized blocks in WordPress with ACF and InnerBlocks is a great way to add value to your website. This guide has demonstrated the process of creating and customizing the “Our Services” block step by step. Now, you too can create your own blocks and enrich your website.

